Lovable Cloud to Supabase Migration: A Step-by-Step Guide
On this page
Move a Lovable Cloud app to your own Supabase project: export, restore, auth, storage, secrets and a safe cutover, with checks at each step.
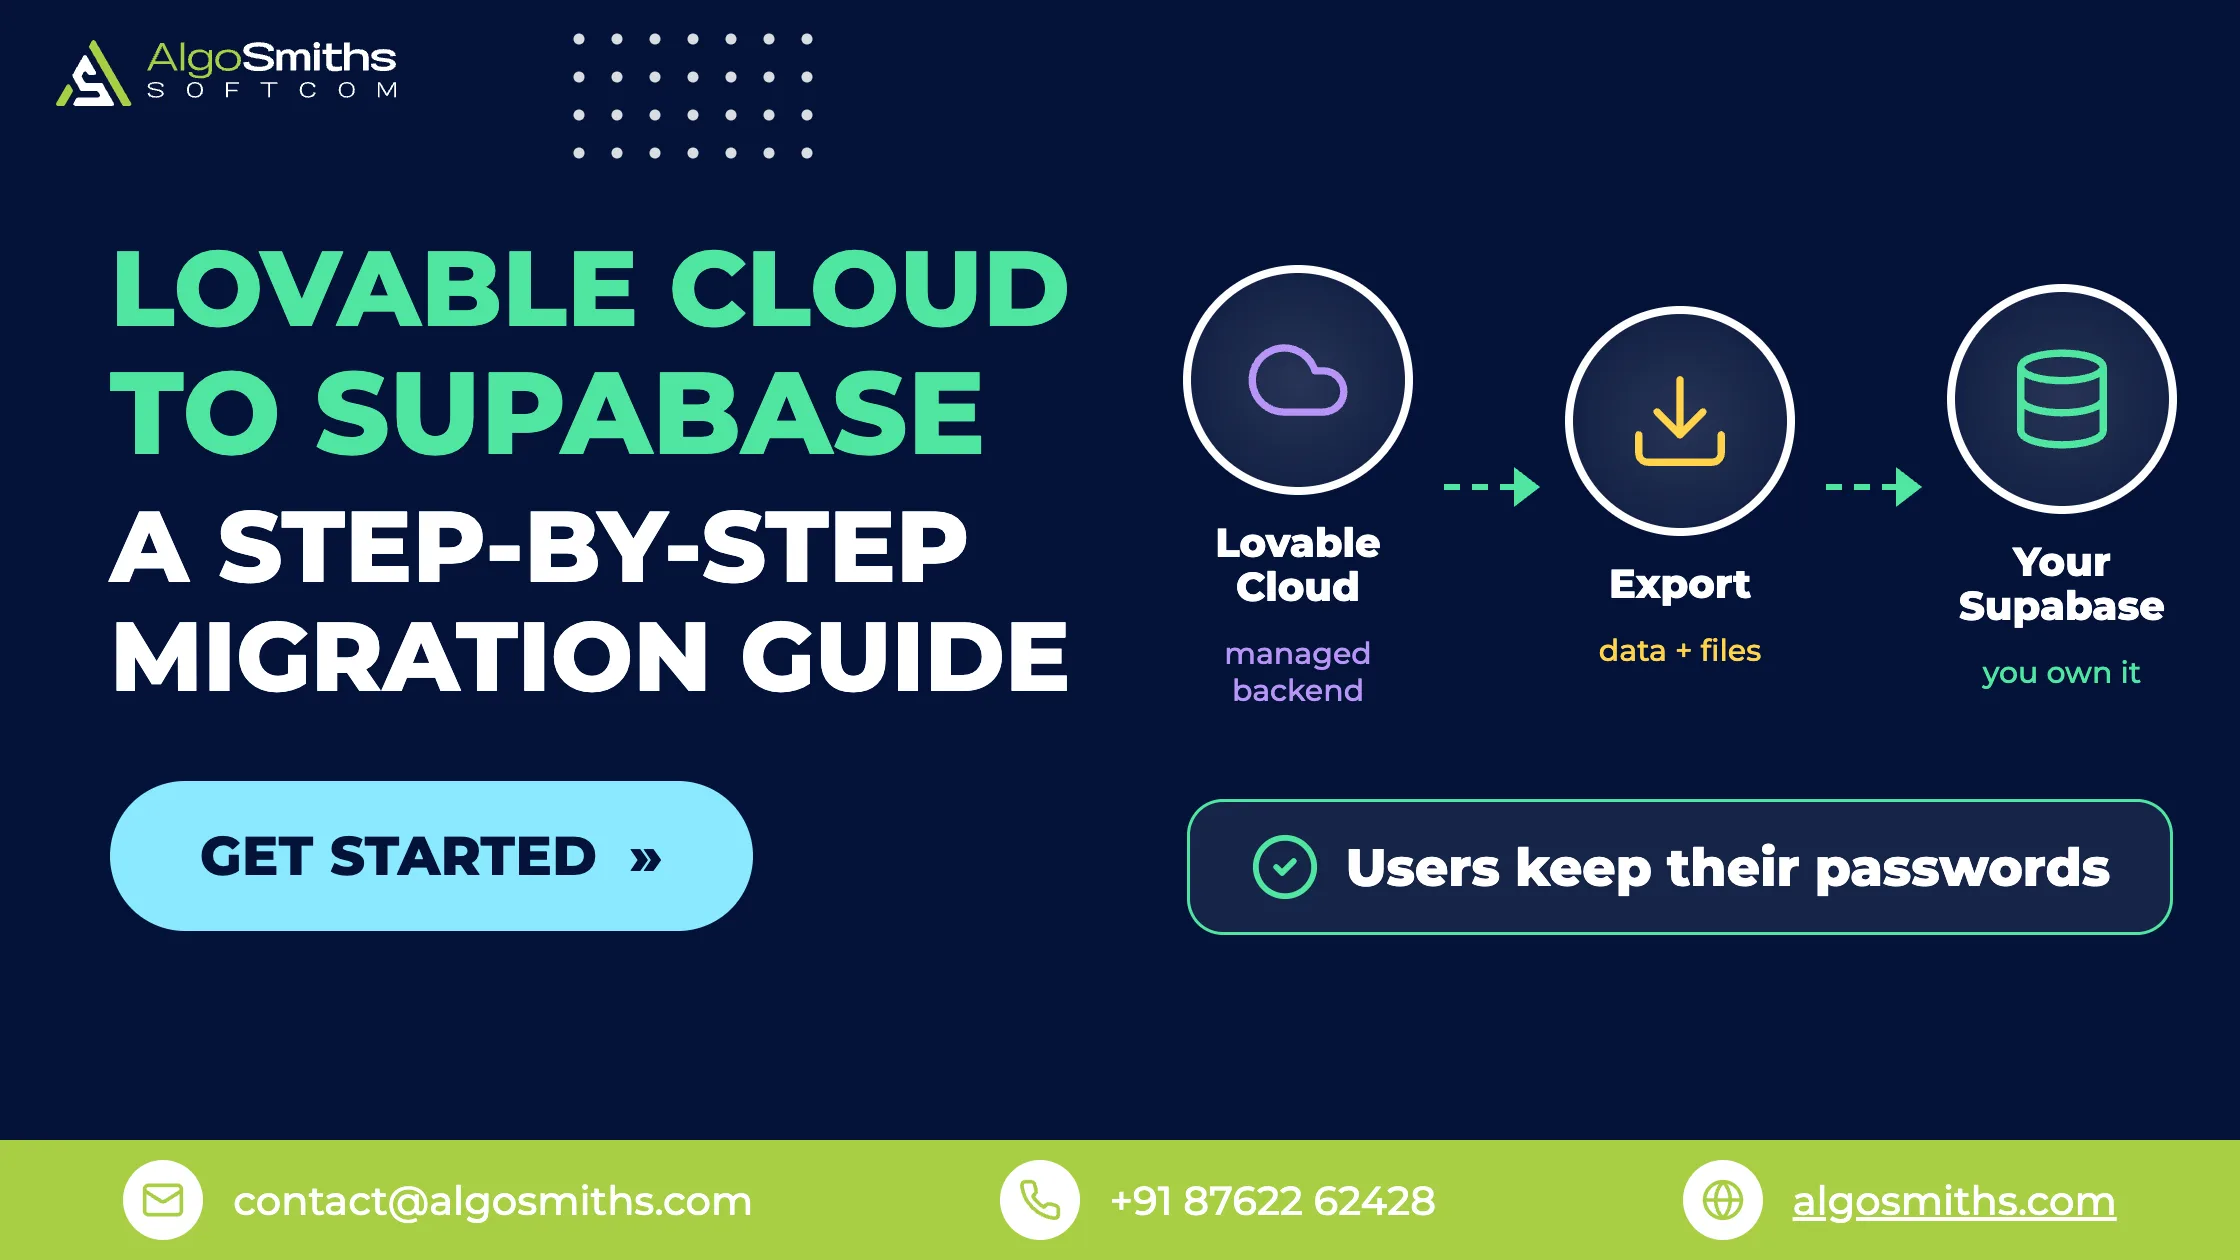
To migrate a Lovable Cloud app to your own Supabase project, create a new Supabase project, export the database from Lovable, restore it with pg_restore, then move the sign-in settings, storage files, secrets and Edge Functions and point the app at the new backend. Lovable cannot hand you its Cloud project, so the move is a copy followed by a switch.
This guide is for founders who built on Lovable Cloud and want the database, users and files in an account they control, and for the developers they hire to do it. It lists the steps in order, with a check after each one and a plan for the final switch. If the code is not in GitHub yet, start with our guide to exporting your Lovable app to GitHub.
Key takeaways
- Lovable Cloud runs on a Supabase project that Lovable manages. It does not appear in your own Supabase dashboard, and you cannot link it to your account.
- The path is a new Supabase project, a copy of the database and the files, and a change to the app's connection settings.
- The database export includes user accounts and password hashes, so people keep their passwords. Sessions end, and files, secrets, sign-in provider settings and connectors move by hand.
- Keep the old backend running until the new one passes every check. Delete nothing in Lovable until you hold verified copies.
Why can't you connect your own Supabase to a Lovable Cloud app?
Because the Supabase project behind Cloud belongs to Lovable. Lovable's documentation describes Cloud as a built-in backend on Supabase's open-source foundation that Lovable manages for you. Supabase's support article spells out the effects: the project is not owned by your Supabase account, so it never shows up in your dashboard. You get no SQL editor, no external database URL and no service role or API keys, and once Cloud is enabled the project cannot be switched to an external Supabase connection.
Lovable's own guidance for leaving Cloud is a manual move. You export the database, restore it into a Supabase project you own, move the storage files and the code, and set up authentication, secrets and external services again at the destination.
What moves with the export and what you move by hand?
The database export carries the tables, the data, the user accounts and the password hashes. Everything else needs its own step.
| Part of your app | How it travels | What you do |
|---|---|---|
| Tables, records, user accounts, password hashes | Database export | Restore with pg_restore |
| Schema and policies | Migration files in the repository | Apply them in order |
| Storage files | Not in the export | Download, then upload to matching buckets |
| Edge Function code | Repository, supabase/functions/ |
Deploy with the Supabase CLI |
| Secrets, sign-in provider settings, API keys | Not exported | Set them again |
| App connectors and AI features | Not exported | Replace with your own accounts |
What do you prepare before you start?
- Git sync turned on, so the repository holds the current code and the migration files.
- A Supabase account, and a plan for who pays for the new project.
- PostgreSQL client tools built with zstd support. A
pg_restorewithout it can list the export but cannot restore the data. - A list of every place the app uses connectors, AI features or scheduled jobs.
How do you migrate Lovable Cloud to Supabase step by step?
Keep the live app on the built-in backend until the new backend is complete. Point the app at the new backend at the final switch. These steps follow Lovable's guide to moving the backend, with the checks we run on top.
Step 1: Create the Supabase project
In the Supabase dashboard choose New project. Set a name, a strong database password and a region close to your users, then wait for it to finish. Save the project ID, the project URL and the public (anon) API key. You need all three in step 7.
Step 2: Rebuild the schema
Apply every migration file in timestamp order, earliest first. Supabase migrations live in supabase/migrations/ and you can paste each one into the SQL editor. Drizzle migrations live in drizzle/migrations/ and follow the order in drizzle/migrations/meta/_journal.json. For the Supabase layout the CLI does the same work:
npx supabase login
npx supabase link --project-ref your-new-project-id
npx supabase db push
supabase db push does not apply Drizzle migrations. Check the result before you move on: every table exists, and every table has the row level security policies you expect. A table with row level security switched off exposes its rows to anyone who holds the public key.
Step 3: Export and restore the data
In Lovable open More, then Database, then Manage, then Settings. Under Export project data choose Export data, then Export, then Start export. Lovable emails you when the file is ready and saves it in the project's storage, so download it from More, then Storage. Databases up to 15 GB can be exported, the file can be up to 5 GB, and you get one export every 24 hours (Lovable's backup documentation).
The file is a PostgreSQL custom-format archive with zstd compression. You cannot paste it into the SQL editor. Look inside it first:
pg_restore --list your-export.backupThen restore into the new project, following Supabase's backup and restore guidance. Account for the managed schemas, roles and extensions already in a new project, and reconcile any seed rows your migrations inserted before you import the same rows from the export. Do not add --clean without reading what it does, because it drops the objects being restored. Run the restore on the new project first as a test, then compare row counts for your main tables against the old database.
Step 4: Reconfigure sign-in
Users keep their passwords because the hashes travel in the export. Sessions do not carry over, so everyone signs in again once. In the new project open Authentication, then Sign In / Providers, and enable each provider you use. In each OAuth console, such as Google or GitHub, change the redirect URLs to the new project URL. Our guide to Supabase auth in production lists what else to check in the auth settings before you switch.
Step 5: Copy the storage files
In Lovable download the files from each bucket under More, then Storage. In Supabase open Storage and upload them to the buckets with the same names. The bucket access policies arrive with your schema migrations, so they should already exist.
Step 6: Set secrets and deploy Edge Functions
Secrets are not exported. Add each one your functions read on the Edge Function Secrets page, or from the command line:
supabase secrets set NAME=value
supabase secrets set --env-file ./secrets.env
Deploy the function code from supabase/functions/ with npx supabase functions deploy. Then list your scheduled jobs and compare them with the schedules that exist after the restore. Recreate missing database schedules with cron.schedule, and recreate schedules that call your app with your own scheduler. Make sure the old and new backends do not run the same job at the same time.
Step 7: Test on a separate deployment
Leave the Lovable project and its repository unchanged. On a separate deployment set the three browser values to the new project: VITE_SUPABASE_URL, VITE_SUPABASE_PUBLISHABLE_KEY and VITE_SUPABASE_PROJECT_ID. The build embeds these values, so rebuild after every change. Apps built on TanStack Start need SUPABASE_URL, SUPABASE_PUBLISHABLE_KEY and SUPABASE_PROJECT_ID for the server code.
Step 8: Verify before you switch
- The app loads without console errors.
- You can create and read records.
- A migrated account signs in with its old password.
- Uploads and downloads work in storage.
- Edge Functions respond, and scheduled jobs ran after their first scheduled time.
- The new project has backups you have tested.
Then run our free Supabase security checker against the test deployment's public address. A fresh project with a restored database is the moment a missing policy or an open bucket appears.
How do you switch to the new backend with little downtime?
Treat the switch as a short, planned pause. Lovable's guide gives this order:
- Pause writes from users, jobs, webhooks and integrations.
- Request the final export. Lovable allows one export per 24 hours, so do your test export the day before.
- Copy any storage files that changed since your last copy.
- Restore the final export into the new project.
- In the Lovable project open Code, edit
.envand replace the threeVITE_SUPABASE_*values with the new project's values. Insupabase/config.tomlsetproject_idto the new project ID. - Save both files. The preview and the next publish then use the new backend, and Lovable pushes the change to your repository.
- Point your custom domain at the new host if you moved the frontend, and unpublish the Lovable address if you no longer want it to serve the app.
Time the export and the restore during your test run. Those two numbers set how long users wait.
When is it safe to delete the old Cloud backend?
After you hold verified copies of everything, and not before. Lovable states that removing the database deletes the backend, its backups, the app's user accounts, the files in storage and the exports saved there, and that the removal cannot be undone. Download the export and the storage files and keep them outside Lovable. Exporting code or changing a domain does not cancel your hosting or your Lovable subscription, and Cloud usage continues until you change it.
Connectors and AI features run through Lovable, so each needs a replacement that uses your own accounts. Managed OAuth with automatic token refresh is available on the built-in backend alone.
What mistakes break a Lovable Cloud migration?
- Restoring with
--cleanand dropping objects you needed. - Moving the database and forgetting the storage files.
- Leaving the old redirect URLs in the OAuth consoles, so sign-in fails on the new project.
- Pointing production at the new backend before a separate deployment passed the checks.
- Removing the Cloud database before the downloaded export restores without errors, which deletes the export too.
Frequently asked questions
Do users keep their passwords after the migration?
Yes. The export includes user accounts and password hashes, so a restored account signs in with the same password. Sessions do not carry over, so signed-in users sign in once more. If the destination cannot restore accounts, offer a password reset flow instead.
Can I paste the export into the Supabase SQL editor?
No. The export is a compressed PostgreSQL archive, not SQL text. Restore it with pg_restore from a build that supports zstd.
Do my AI features and connectors move?
No. They run through Lovable, so you replace them with your own provider accounts and integrations at the destination. Search the code for connector and AI calls before you switch.
Can I point the same Lovable project at my new Supabase project?
Lovable's guide does this by editing .env and supabase/config.toml in the Code view. Supabase's support article says a Cloud project cannot be switched to an external Supabase connection. Because the two sources describe different routes, test the change on a separate deployment and check Lovable's current documentation before you make it on the live project.
Moving without breaking the live app
The safe order is to build the new backend in full, test it on a separate deployment, then switch in one short pause and keep the old backend until the checks pass. If you want engineers to run the move and the checks for you, talk to us about our fixed-price Lovable app rescue.
Topic: AI-built apps & Supabase